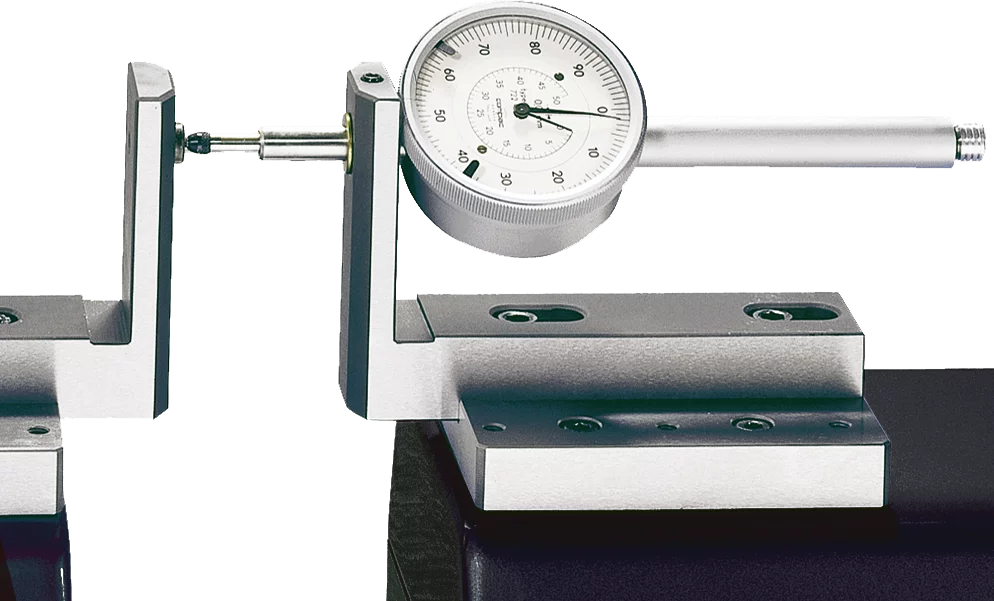
Dial indicators are widely used for dimensional measurement, alignment verification, equipment setup, and precision machining. Their accuracy is essential in applications where tolerances are measured in thousandths of an inch or microns. Over time, friction, shock loading, spindle wear, and environmental contaminants degrade performance. Dial indicator calibration ensures that these instruments continue delivering accurate, repeatable measurements aligned with documented tolerances.
Why Dial Indicator Accuracy Matters
Dial indicators often serve as reference tools for machine setup, part inspection, and quality verification. Any drift or mechanical binding can produce cumulative measurement errors, affecting multiple stages of production. Industries such as aerospace machining, medical device manufacturing, automotive component production, and toolmaking depend on precise dimensional conformity.
Because dial indicators are vulnerable to wear at the spindle, contact point, rack, and gear system, calibration is the only way to confirm accurate performance and detect early signs of mechanical degradation.
Calibration specialists like SIMCO provide dimensional measurement services that help organizations maintain high accuracy in gaging equipment. Review their capabilities through SIMCO calibration services for insight into their accredited procedures.
How Dial Indicators Drift Over Time
Several mechanisms influence measurement accuracy:
- Spindle friction or binding: Dust, chips, and lubrication issues cause irregular movement.
- Gear train wear: Internal gears degrade, causing backlash or hysteresis.
- Shock loading: Dropping the instrument alters rack-and-pinion alignment.
- Thermal expansion: Temperature fluctuations change reference dimensions.
Without scheduled dial indicator calibration, these issues may produce misleading measurements and rejected parts.
The Calibration Process for Dial Indicators
Calibration is performed using precision reference instruments and controlled procedures aligned with ASME B89.1.10 and ISO 17025 requirements.
1. Initial Inspection and Cleanliness Check
Contaminants are removed, spindles are checked for smoothness, and contact points are inspected for wear or deformation.
2. Linear Measurement Verification
A precision gage block set or automated indicator calibrator applies controlled displacement increments. Technicians measure:
- Travel range accuracy
- Repeatability
- Hysteresis
- Zero position integrity
- Resolution performance
Each test ensures that the dial indicator performs consistently across its full measurement span.
3. Mechanical Performance Evaluation
This includes assessments of:
- Spindle alignment
- Gear train backlash
- Return spring tension
- Contact point geometry
Any deviation can degrade measurement repeatability.
4. Adjustment and Documentation
If possible, adjustments are made to restore accuracy. A calibration certificate then documents:
- As-found and as-left results
- Measurement uncertainties
- Traceability to reference standards
- Environmental conditions
These records support audits, root-cause analysis, and continuous quality improvement.
Why Routine Calibration Improves Reliability
Routine dial indicator calibration enhances:
- Inspection accuracy: Reduces false acceptances and rejections.
- Tool longevity: Detects wear before catastrophic mechanical failure.
- Process capability: Ensures dimensional data remains precise and reliable.
- Audit readiness: Demonstrates adherence to ISO, customer, and regulatory requirements.
SIMCO’s dimensional calibration capabilities ensure that dial indicators remain trustworthy across all applications requiring tight tolerances. Additional background on their organization and technical expertise can be found through SIMCO’s company information.


